Mastering the Software Workflow
Follow this user-friendly guide to create perfect, seamless loops for your broadcasts and social media.
Importing Your Content
Getting started is easy. Simply click on the "New Project" button or drag your video file directly into the workspace.
The engine will automatically analyze your video's resolution and framerate to ensure the best possible output quality.
Choosing the Perfect Loop Mode
Loop Maker Pro offers several modes, but for that professional, seamless look, there is one clear winner:
Partial Loop A-B (Highly Recommended)
This mode is specifically engineered for seamless transitions. It mathematically scans the head and tail of your clip to create a perfect midpoint crossfade, making the loop invisible.
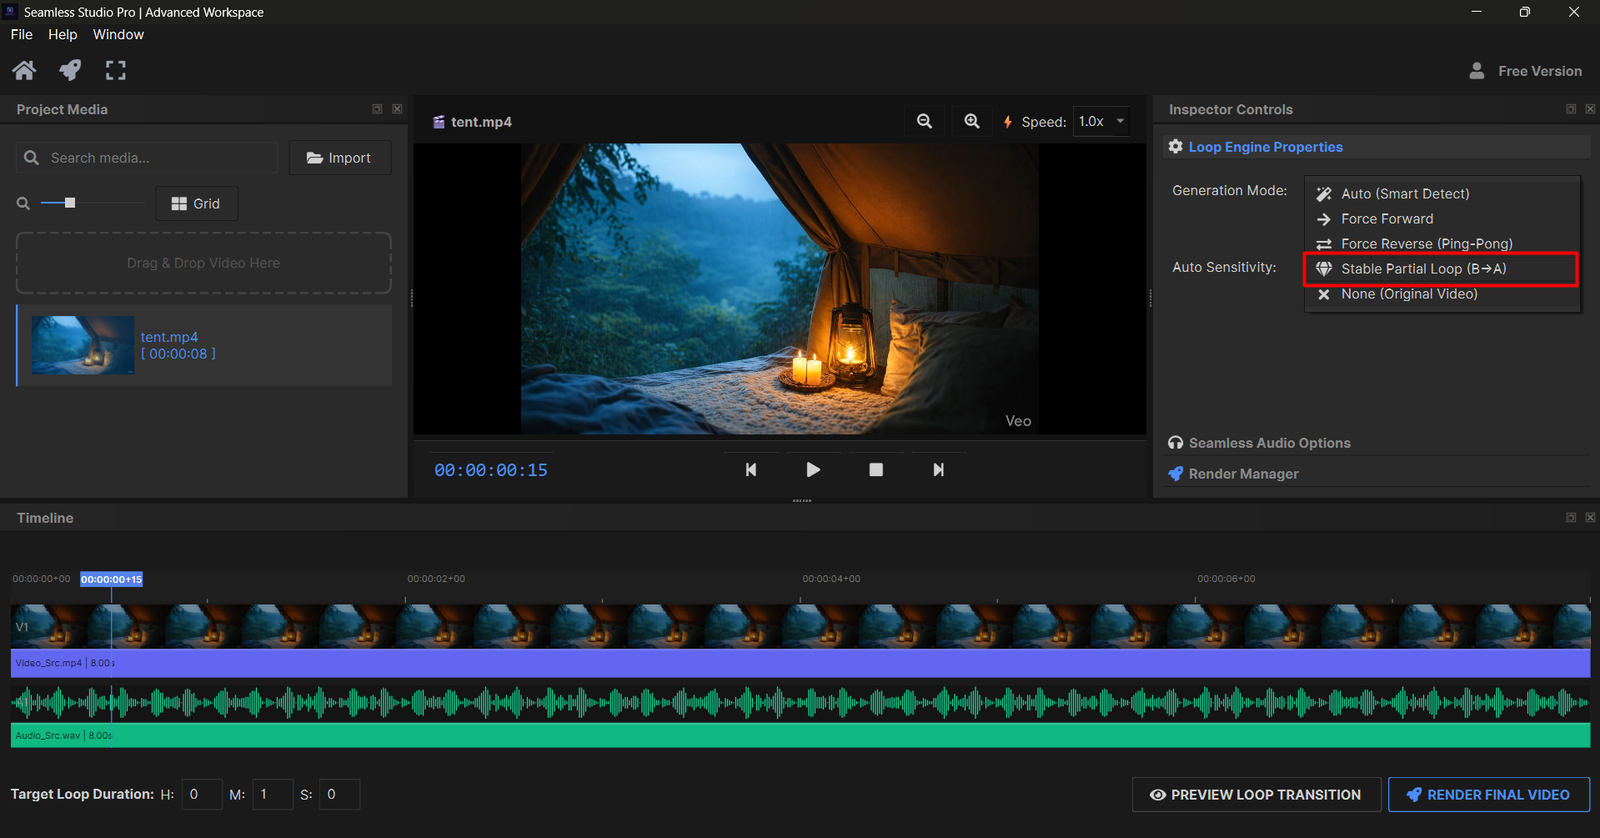
Other "Simple" generation modes like Forward or Reverse (Ping-Pong) are available for quick loops where a perfect center seam isn't required.
Pro Tip: Always use Partial Loop A-B for professional-grade results.
Rendering & Export Mastery
Once your mode is selected, it's time to build your final video. Set your desired Target Duration (e.g., 2 hours, 10 hours, or even 24 hours).
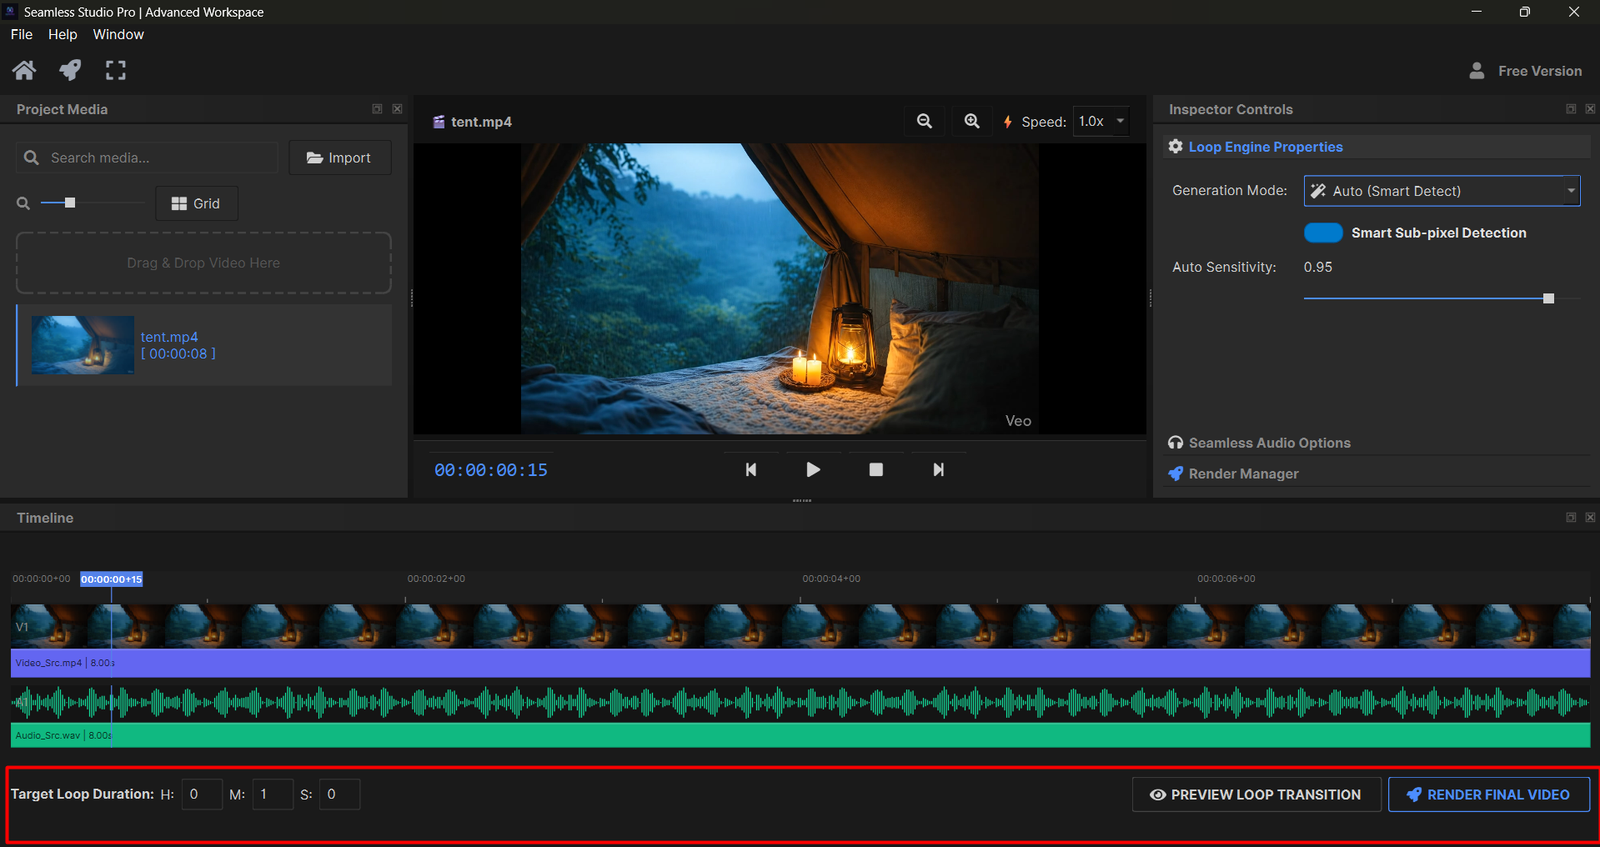
Easy Render (Direct Export)
For the final output, we recommend using the "Easy Render" (Direct Export) feature. This bypasses the preview hurdles and uses our multi-threaded engine to build your video with maximum stability.
Video Tutorial
Prefer watching a video? Check out our official workflow tutorial below:
(Tutorial video link will be updated soon)
System Maintenance
Video rendering can create temporary files that take up space. To keep your system running at peak performance, use the "Clear Cache" feature located in the File menu.
This safely removes orphan render chunks without affecting your project files.
License Security & Policy
Your license key is your gateway to pro features. To ensure fair use and security:
- One Device: Each license is strictly for one device only.
- Privacy: Please do not share your license key with anyone.
- Hardware Binding: Your key is mathematically bound to your PC's hardware ID.
Attempting to use the same key on multiple devices may lead to automatic license suspension.